Welcome to Taxo Tape
The Hidden Thermal Challenges in Industrial Control Units
Introduction: Why Thermal Issues Stay “Invisible” in ICUs
Most industrial control units look perfectly stable from the outside. The cabinet is closed, the indicators are green, the line is running – so everything is fine. At least that’s what it seems.
Inside the enclosure, the situation can be very different. Power devices are running close to their limits, local hot spots are forming on the PCB, and plastic housings or connectors are slowly aging under continuous heat. These issues build up quietly over months or years and usually only become “visible” when something fails on the production line.
Thermal problems are easy to underestimate in the design stage for several reasons. First, early prototypes are often tested in a clean lab environment, not in a hot, dusty factory or an outdoor cabinet in summer. Second, a lot of teams focus on electrical performance, cost, and size; heat is treated as a secondary topic that will be “handled with a heat sink and a fan later.” Finally, simulations and average temperature readings can hide local hot spots that actually drive the failure.
At the same time, trends in industrial electronics keep making thermal management harder: higher power density, smaller and more compact enclosures, more functionality integrated on a single board, and long 24/7 operation. All of this means that even a “normal” industrial control unit today often operates much closer to its thermal limits than older generations.
Where the Heat Really Comes From Inside an ICU
Heat in an industrial control unit does not come from one single component. It is the sum of many losses, concentrated in a few critical areas.
Power devices – IGBTs, MOSFETs, gate drivers, relays, and integrated power modules are usually the main heat sources. Switching losses, conduction losses, and contact resistance all generate heat that must be transferred out of the package and into a heat spreader, chassis, or heat sink.
CPUs, MCUs, FPGAs, and communication modules – As control units become smarter and more connected, the processing part also starts to generate more heat. High-speed processors, FPGAs, and communication modules (Ethernet, 5G, fieldbus, etc.) can run hot, especially in compact designs with limited airflow.
DC-link capacitors, transformers, and other passive components – Passives are often treated as “cold” components, but they are not. DC-link capacitors warm up due to ripple current, magnetic components have core and copper losses, and even resistors and shunts can create local hot spots if the layout is tight.
The important point is the difference between average board temperature and local hot spots. A board may seem safe if the average temperature is, for example, 60–70 °C. But some devices on that board might be running at 95–105 °C junction temperature because the thermal path from the component to the chassis is poor. It is usually these local hot spots that define the real reliability of the system.
The Hidden Risks of Poor Thermal Management
When heat is not managed properly, the risk is not only “it gets hot.” The more serious impact is on performance, stability, and lifetime.
Drift in sensor accuracy and control precision
Many sensors – current, voltage, temperature, position, pressure – are sensitive to temperature. If they are mounted close to hot components or on a warm PCB area, their output can drift. This drift can reduce the accuracy of the control loop, cause slower response, or create the need for frequent recalibration.Early failure of capacitors, relays, and power modules
For many components, lifetime roughly halves with every 10 °C rise in temperature (depending on the technology). Electrolytic capacitors dry out faster, relays suffer from contact wear and coil heating, and power modules experience more thermo-mechanical stress in solder joints and bond wires. Poor heat paths simply accelerate these failure mechanisms.Intermittent faults: “ghost” resets, derating, unexpected shutdowns
Not all thermal problems show up as a hard failure. More often, controllers start to reset sporadically, protection circuits derate the load, or the system shuts down under high ambient conditions. These “ghost” issues are hard to trace, especially if the unit cools down before someone measures it.Impact on MTBF, warranty cost, and production downtime
Each of these effects reduces the mean time between failures (MTBF) of the control unit. For the end user, this translates into unplanned stops, higher maintenance cost, and potential product quality issues. For the equipment manufacturer, it means higher warranty cost, more service calls, and pressure on pricing. In many cases, the root cause is simply an undervalued thermal design in the early stage.
Real-World Constraints That Make Cooling Harder
Even when engineers understand the importance of thermal design, the real application environment puts strong constraints on what is possible.
Sealed or IP-rated enclosures
Industrial control units often work in harsh environments with dust, oil mist, moisture, or aggressive chemicals. To survive, the enclosure must be sealed and meet a certain IP rating. This protects the electronics, but it also traps the heat inside and makes airflow-based solutions less effective.Limited space and complex PCB stacking
Space in a control cabinet is always limited. Designers push for compact footprints, multi-layer PCBs, daughter boards, and dense layouts. This makes it difficult to place hot components in thermally favorable positions or to add large heat sinks and heat spreaders.High ambient temperature in cabinets, factories, and outdoor sites
The ambient temperature around the unit is often much higher than the “room temperature” used in lab tests. Closed cabinets, crowded equipment rooms, and outdoor installations in summer can easily push the ambient above 40–50 °C. The smaller the difference between junction temperature and ambient, the more critical every degree of thermal resistance becomes.EMC, vibration, and safety standards limiting airflow solutions
Fans and vents are not always welcome. EMC requirements, noise limits, vibration, and safety standards may restrict where and how airflow can be used. In some applications, moving parts are avoided to improve reliability. As a result, designers have to rely more on conduction and radiation, and on building an efficient thermal path with the right materials.
All these constraints mean that the “hidden” thermal challenges inside industrial control units are not simply a matter of adding a bigger heat sink. They require a systematic approach to thermal design, from component placement and enclosure design to the selection of suitable thermal interface materials.
Typical Thermal Design Mistakes in Industrial Control Units
Many thermal issues in industrial control units do not come from extreme conditions, but from small design decisions made early in the project. A few common patterns appear again and again:
Treating TIM as a last-minute accessory
Thermal interface materials (TIMs) are often selected at the very end: “just add a pad here” or “use some grease there.” When TIM is not considered during layout, mechanical design, and stack-up definition, the result is irregular contact areas, difficult assembly, and unpredictable thermal performance. TIM should be treated as part of the thermal path, not as a simple filler.Over-reliance on a “bigger heat sink”
Adding a larger or more expensive heat sink does not always fix overheating. If the thermal interface between the component and the heat sink has high resistance, most of the temperature drop happens across that interface, not in the heat sink itself. Without checking contact quality and interface resistance, a bigger heat sink can give a false sense of safety.Uneven pressure and gaps between component and heat spreader
Mechanical tolerances, board warpage, and screw patterns can create uneven pressure on the TIM. Some devices will have good contact, others will sit on a corner or float above the pad, leaving air gaps. These gaps act as strong insulators and create local hot spots, even if the overall design looks correct on paper.Ignoring aging of grease, pads, and other materials
Thermal performance is not static over the lifetime of the product. Greases can pump-out or dry, pads can take a set, and repeated thermal cycles can change contact conditions. If the design only works when the TIM is new, there is a risk that, after a few thousand hours, temperatures will be several degrees higher than expected.
How to Identify Thermal Problems Early
Finding thermal weaknesses early is much cheaper than solving them in the field. A few simple practices can help catch problems before the design is frozen.
Basic checks: use real temperature probes, not only simulations
Simulations are valuable, but they depend heavily on boundary conditions and assumptions. During prototype testing, it is important to place thermocouples or temperature sensors on key devices (power modules, CPUs, capacitors) and measure under realistic load and ambient conditions.Infrared inspection to find hot spots on PCBA and enclosure
An infrared camera or even a simple IR thermometer can reveal unexpected hot spots on the PCB or enclosure. Areas that look normal electrically may show much higher temperatures due to poor conduction, lack of copper, or blocked airflow.Simple thermal mapping during different load profiles
Testing only at nominal load is not enough. Short overloads, start-up conditions, braking steps, or worst-case duty cycles can generate peak temperatures that are much higher than steady-state values. Mapping temperatures across several realistic load profiles gives a more complete picture.Setting realistic thermal design limits, not just “datasheet max”
Designing close to the absolute maximum rating leaves no buffer for ambient variations, aging, or production tolerances. For key components, it is better to define internal design limits several degrees below the datasheet maximum and validate that the system meets these internal limits.
Optimizing the Thermal Path with the Right Interface Materials
A robust thermal design is built around the idea of a continuous thermal path – from the chip, through the package, into the heat spreader or chassis, and finally to the ambient environment. Any weak link in this chain raises the temperature of the critical component.
Different thermal interface materials have different roles inside industrial control units:
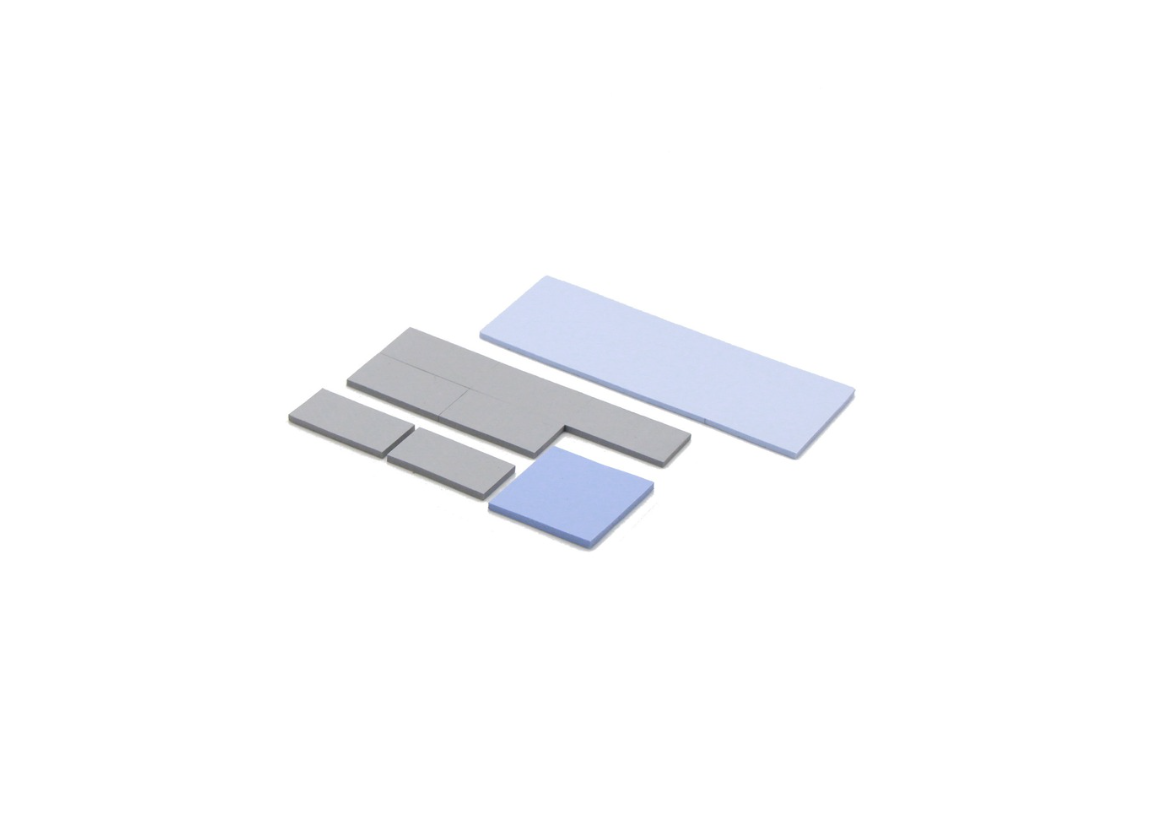
Thermal pads for power devices and gaps
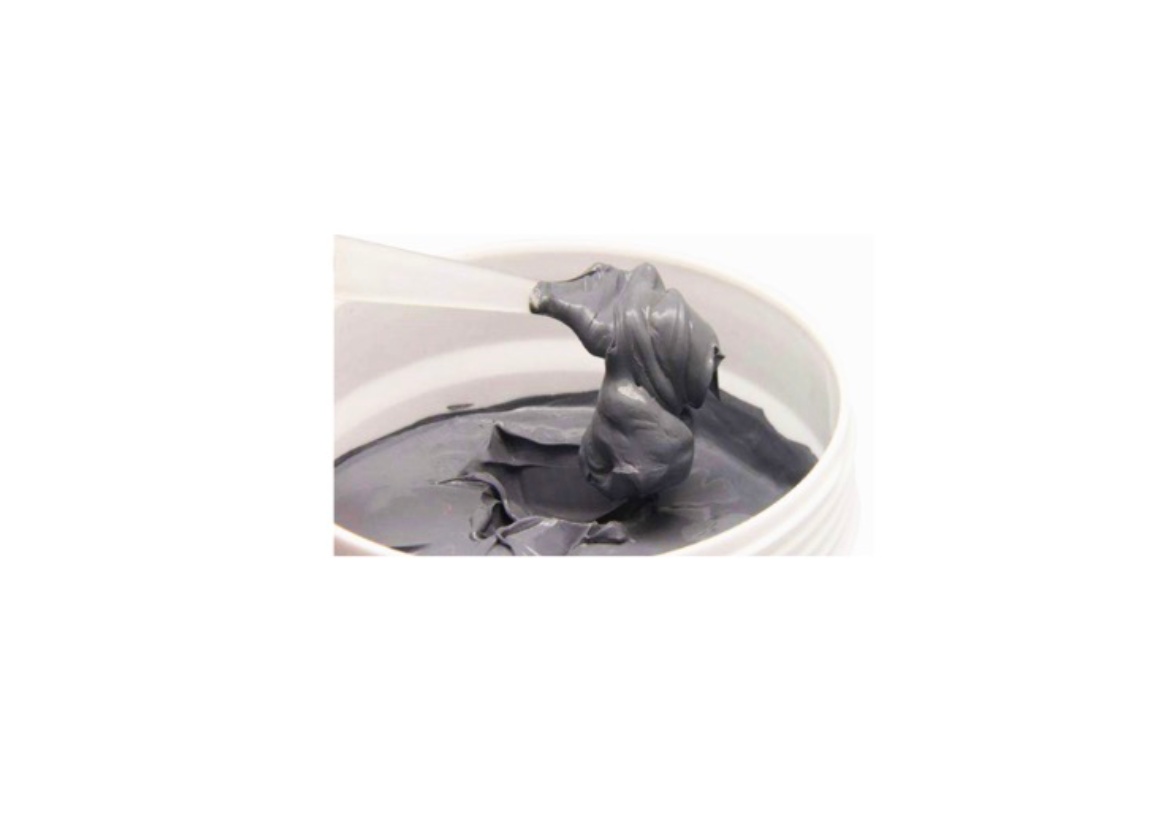
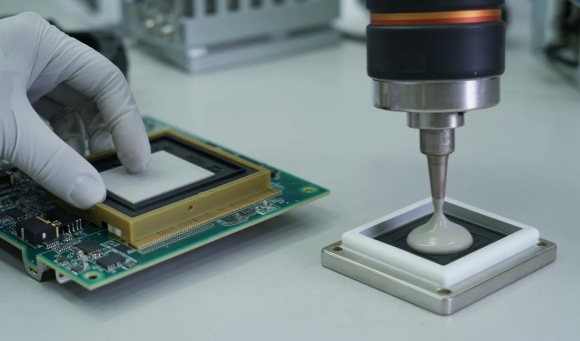
Soft thermal pads can bridge tolerances and fill gaps between power devices and heat spreaders or housings. They are easy to assemble and suitable for multiple components under a common clamp or plate.Thermal grease or gel for uneven surfaces and high power density
Greases and gels provide very low thermal resistance when applied correctly, especially on rough or uneven surfaces. They are often used where power density is high and temperature margin is small, such as under power modules or on CPU heat spreaders.Thermal tapes for bonding and heat conduction
Double-sided thermal tapes combine adhesion and heat conduction. They are useful when a component or heat spreader must be fixed mechanically without screws, while still providing a usable thermal path.Phase change materials for stable long-term performance
Phase change materials (PCMs) are solid at room temperature and soften or melt at operating temperature to wet the surface and reduce interface resistance. They can offer more stable performance over time compared to some traditional greases, with cleaner assembly.Graphite sheets for in-plane spreading and thin designs
Graphite materials have high in-plane thermal conductivity and are very thin. They are typically used to spread heat from hot spots to a larger area, or to guide heat toward a metal chassis in compact designs.
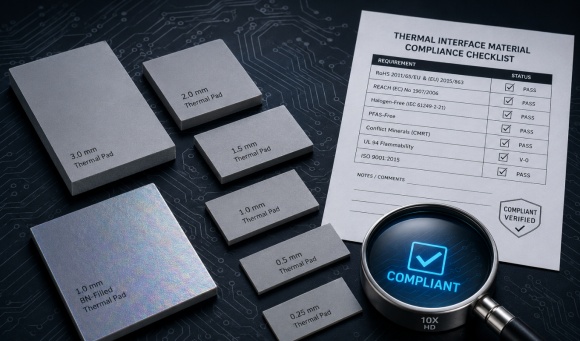
For best results, material selection should be matched to the application: the thermal requirements of a power module are different from a small gate driver or a communication CPU. Parameters such as required thickness, compression, dielectric strength, flammability rating, and assembly process all influence the right choice of TIM.
Design Checklist for More Reliable Industrial Control Units
Before locking the design, it is useful to run through a short thermal checklist:
Are the main heat sources clearly identified, and is their thermal path to ambient defined component-by-component?
Are the TIMs selected early enough so that mechanical tolerances, screw positions, and clamping mechanisms support good contact pressure?
Have we validated temperatures with measurements under realistic ambient, load cycles, and cabinet conditions, not only on the bench?
Do our internal temperature limits include safety margins for aging, manufacturing variation, and worst-case environment?
Is the chosen TIM compatible with the expected service life, maintenance intervals, and possible field replacement?
Good thermal design usually requires collaboration between hardware, mechanical, and, where available, thermal engineers. Component placement, enclosure design, mounting methods, and material choice are all connected. Early communication between these roles avoids late surprises and rework.
It is also important to look at maintenance and service: if a unit must be opened periodically, the selected TIMs should support this, or at least be easy to replace without damaging the assembly.
Conclusion: Turning “Hidden” Heat into a Controlled Design Parameter
Thermal problems in industrial control units are not random events; they are design issues. If heat is treated as a secondary topic, it often reappears later as unexpected shutdowns, shortened lifetime, or warranty claims.
By integrating thermal planning at the concept stage – selecting proper TIMs, designing a continuous thermal path, and validating temperatures under real conditions – manufacturers can increase reliability, improve safety margins, and reduce long-term cost for both themselves and their customers.
For many existing designs, small changes in the thermal interface and material selection can already bring noticeable improvements. It is a good moment to review current industrial control units, check where hot spots and interface bottlenecks may exist, and explore optimized thermal interface solutions before those “hidden” issues turn into visible failures.